7 Shocking Things Most Other Repair Companies WON'T Tell You To Try Before Scheduling
Let's Try To Save You A Service Visit!

This article is aimed at residential appliance owners in the hopes of saving them a service visit by utilizing some basic troubleshooting strategies to hopefully repair their appliance. Before scheduling an appointment try the following options to try to resolve the issue:
1 - NO POWER!? In the case of an electronic based appliance (appliance has a screen) that has a blank screen and doesn't appear to be getting power. Try plugging the appliance into a different outlet that you know works to determine if the appliance is getting power. If it turns on after plugging it in to a different outlet and the functions work, then you will need to check the circuit breaker associated with the outlet the appliance normally gets power from. Go to your circuit breaker panel (located normally in basement of single or multi-family properties or somewhere in the house if its a condo, its typically a grey panel) and check for any breaker that it tripped. A circuit breaker has three positions, left, middle and right. If the circuit breaker is in the right position its on, if it's in the left position it's off, however if it is in the middle position then it has tripped. A power outage/surge could've caused this or an electrical issue from the appliance or the circuit breaker/wiring. Reset the breaker and see if it stays on and see if the appliance now appears to be getting power from checking the screen of the appliance, also check that the appliance is functioning as it should. If everything is normal, great! Following the last scenario where the appliance worked while being plugged into a different outlet(test for a few hours to make sure). If after resetting the circuit breaker for the outlet the appliance normally plugs into, trips again then this could indicate an electrical issue requiring an electrician as the appliance was proven to work when plugged into a different outlet. In the case the appliance trips on any outlet its plugged into (outlets proven to work) then its recommended to get a skilled appliance tech out to your house or place of business to do a professional diagnostic.
2 - WARM FRIDGE!? In the case of a warm residential fridge situation, the first thing you can try doing is vacuuming the condenser coils. These coils are either located at the front of the fridge, at the bottom and behind a kickplate that either is pulled off (cover has tabs) or is unscrewed by a 1/4 nut driver. More commonly the condenser coil will be located at the back of the fridge behind a cardboard or metal cover. To take off the cover you might need a 1/4 or 3/8 nut driver or a phillips head screw driver. The condenser coil whether in the front or back will look like a block of coils, sometimes like a 3D square or a flat rectangle, typically located near a fan motor dubbed the "condenser fan motor" (visually check to see if its spinning). When cleaning the condenser coil unplug fridge to avoid damage to the fan. As mentioned these coils can be vacuumed or additionally they can also be cleaned by using an approved condenser cleaning product when vacuuming just won't cut it. You can find "HVAC Foam Blaster" on Amazon sold by "The HVAC Guys". I have used this product myself and it is good (Not a paid promotion). In the case the condenser fan motor is not spinning you might need a technician out to determine why. While your back there, ensure the compressor (some people refer to it as a motor) is on, typically you can hear it humming or vibrating and it should be slightly warm to the touch. If it is burning hot then this could signal the possibility of a more in-depth issue that will require a technician to troubleshoot. You can also check the freezer to see if there is ice build-up on the back wall, if so there might be a defrost system issue which will require some electrical know-how to really pinpoint the issue and replace the right part. Don't forget to check the door gaskets (rubber seals around door) to make sure there is no tears or damage causing the compartments to warm up and make sure the doors close correctly.
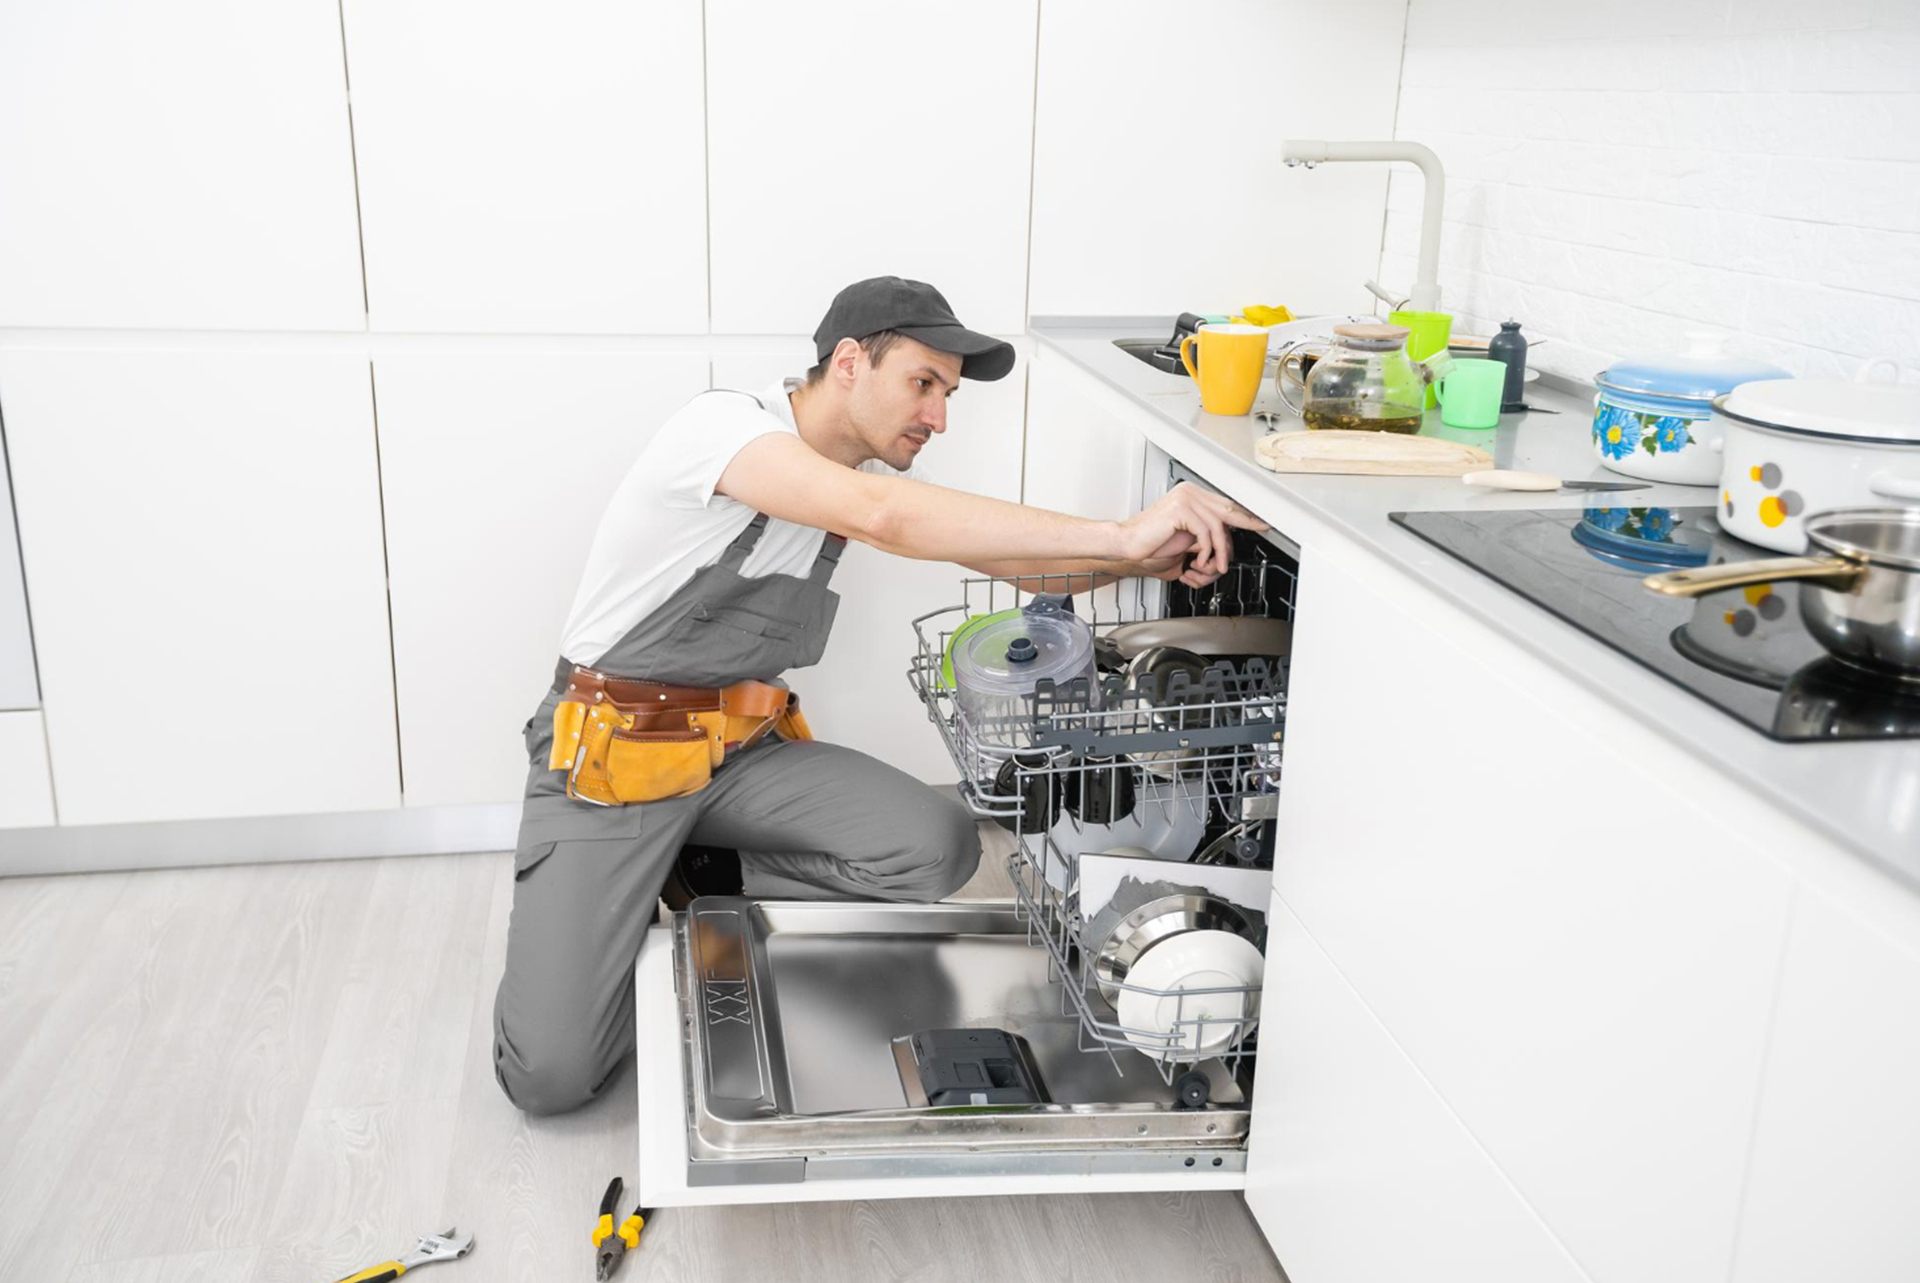
3- DISHWASHER NOT DRAINING/CLEANING!? In the case of a dishwasher not draining, you will need a shop vac to get out the residual standing water. After doing this, depending on the dishwasher you have there might be a serviceable filter. If there is you can remove it by turning it counter-clockwise and clean/rinse off any gunk, if there was a heavy build-up this could have contributed to the lack of draining. Also carefully check for signs of broken dishes/glass that could've got into the drainage system. Additionally check the drain hose at the garbage disposal for food blockages. If this doesn't resolve the issue then a technician might be needed to troubleshoot and determine what is causing this issue. If you recently had your garbage disposal replaced then subsequently had this draining issue (assuming the dishwasher is draining into the disposal, which it typically is) then there is a possibility that the installer forgot to remove the dishwasher drain plug in the disposal. In which case you will need to remove it by disassembling the disposal to gain access to it, the plug will be located in the disposal where the dishwasher drain hose connects to it. You can use a flat head screwdriver and a hammer to remove the plastic plug using caution. Make sure the plastic plug doesn't fall into disposal to avoid possible jams in the future. If the dishes are not cleaning properly, there are a few things you can do and check. As in the aforementioned scenario you can start by cleaning the filter, if the filter is dirty then the water that recirculates throughout the dishwasher will be dirty as well resulting in suboptimal cleaning. Another thing to check is the dishwasher spray arms which water shoots out through to clean the dishes. Visually inspect the holes in the spray arm and see if food is blocking them causing cleaning issues. If this is the case remove the the spray arm in question (I would do both as a preventative measure), whether its the top or bottom. Some spray arms are easier to remove than others, but normally there's a rather big nut that removes the spray arm by turning it counter-clockwise. The top spray arms can sometimes require a bit more disassembly than the bottom spray arms, through the use of clips and screws. Once removed bring them over to a sink and try and remove the blockages. I have used paperclips/small needles and sink water to remove food caught in the spray arms. Some spray arms can come apart to make cleaning the blockages easy, most do not. Another thing to ensure is the detergent coming out dispensing and consequently dissolving into the hot water. If the detergent doesn't dispense make the sure the inside of the dispenser is cleaned and that there is no heavy buildup of residual detergent that poses as an obstacle for detergent to exit the dispenser. If it dispenses but doesn't dissolve ensure water is entering the dishwasher. If water is entering the dishwasher ensure that the water is getting heated by the heater in the dishwasher by visually seeing steam accumulate at certain points during the cycle in the dishwasher. If there is no steam it's best to have a technician come out and troubleshoot the issue.
4- GARBAGE DISPOSAL NOT SPINNING!? If the disposal is not spinning the first thing to do is check for a jam. If you recently had one installed, the installer should have given you the unjamming tool (it's an allen wrench) that you insert into the bottom middle of the disposal and turn back and forth to try and free any obstructions. A working garbage disposal (that's not jammed) will have little resistance when using the unjamming tool. If there is a lot of resistance try continuing using the tool until there is not. Then remove the tool and turn it on and see if you resolved the issue. Other times there is a red button on the bottom of the disposal that you need to reset. If resetting (if applicable) and unjamming didn't resolve the issue then a new garbage disposal is in order. Also if the disposal is leaking then you would want to replace it.
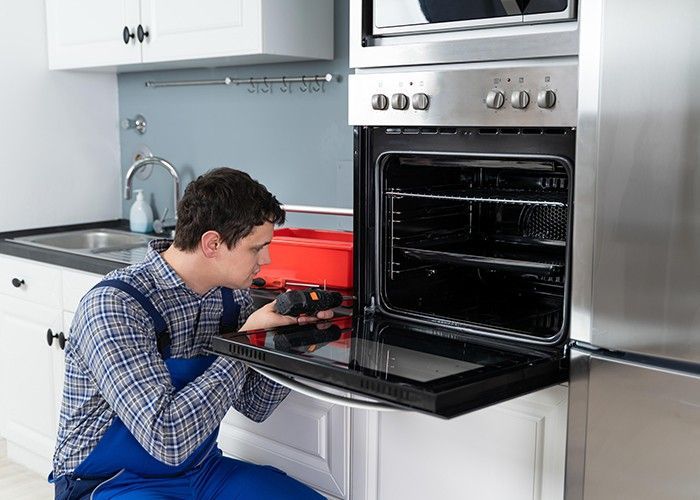
5-GAS STOVETOP BURNER/S NOT WORKING!? If one or more of your gas stovetops burners are not lighting there are a few preliminary things you can check before calling out a pro. If the burner is emanating a gas smell then you know gas is present. What is missing is an ignition source. Stovetops use an electrical ignition which can be visibly seen. If you can see the spark and smell the gas but the burner is not turning on then there is an obstruction separating the gas and spark. Grease or debris can cause this and would require cleaning and removing the obstruction. Next to the ignitor (which creates the spark, looks like a little white rod sticking out of the surface of the stovetop) there is a tiny hole in the burner base. This often gets clogged and prevents the gas from getting ignited from the spark. I use a needle to clean these out as the the holes are quite tiny. Once clean given the conditions described above it should then work. If there is no gas or spark or both, then a technician will be needed to determine what is causing the issue. Furthermore if a gas smell is present when not in use, a good and recommended safety measure is to report this to your gas utility supplier like National Grid or Eversource to prevent any hazardous conditions. They would likely turn the gas off and recommend you get a qualified technician to repair the unit if they determine the leak is from the unit. If the gas smell is only present during use this could signify a bad oven ignitor or leaking valve. It would be advised to stop using the oven/stovetop in this condition and have a qualified technician resolve the issue.
6-DRYER TAKING LONGER THAN NORMAL TO DRY!? If you have confirmed that the dryer is spinning and heating but your clothes are taking longer than normal to dry, then more than likely you have an obstruction in the ventilation system (internal to dryer or external). If able you can check the vent exit on the outside of the house and feel for air flow with dryer on. Oftentimes I find the obstruction on the vent exit on the side of the house if the vent exit has a screen. The vent hose is on the back of the dryer and is secured to the back of the dryer with a hose clamp that is typically removed with a phillips head screwdriver. You can check the condition of the vent by looking inside (this can be vacuumed or cleaned with a long flexible vent brush). If you see the obstruction then remove it. If the blockage is inside the dryer then you will need a technician to disassemble the dryer and remove the obstruction. A harder to pinpoint condition would be intermittent heating which would require a professional diagnostic.
7-WASHER NOT DRAINING!? If your washer in not draining the DIY options are limited. Sometimes there is a small hatch at the front bottom left or right of the washer that can open by being pushed in or depressing a clip. Inside the hatch is access to the drain pump housing and sometimes a drain hose. The instructions for removing the water is available in the user manual for the washer. You should remove the water through the hose into a vessel capable of holding the water then emptying the water into the sink or bathtub to drain it. Draining the water out of the hose and not the drain pump cap gives you the advantage of controlling the water flow out of the washer and into the vessel. This is a slow process, but if you just inadvertently open the cap for the drain filter then you would likely cause a flood. The reason behind draining the water out manually is so we can get to the point of opening the drain filter cap and check for obstructions. Even when you do get to this point (after all water is drained out using the drain hose) you should still proceed with caution when opening the drain filter cap as there could be more water hiding behind an obstruction that caused the "no drain condition" in the first place(obstruction being an article of clothing). It's best to unscrew the drain filter cap very slowly and over a proper vessel to catch water like a low profile pan (lasagna tray) and have towels handy. If there is no obstruction visible you will need a technician for further troubleshooting.